Numerical Analysis
Foundations and Exercises
Institute for Mathematical Science, Waseda University
Attention!
The 2nd period “Foundations of Numerical Analysis” and 3rd period “Exercises in Numerical Analysis” are designed to be taken together.
It is possible to take only the 2nd period class, but it is very cost-ineffective.
Schedule
- Schedule may change depending on the situation
| Week | Topic |
|---|---|
| 1st | Orientation and Guidance |
| 2nd-3rd | Errors in Numerical Computation / Floating-Point Numbers |
| 4th | Vector Norms and Matrix Norms |
| 5th-6th | System of Linear Equations |
| 7th-8th | Nonlinear Equations |
| 9th | Midterm Examination (June 12th) |
| 10th | Review and Feedback |
| 11th-14th | Numerical Integration / Discussion for final presentation |
Grade Evaluation
| Evaluation Items | Foundations | Exercises |
|---|---|---|
| Exercises (including Homework) | 20% | 40% |
| Midterm Examination | 40% | 20% |
| Group Project & Presentation or Alternative Assignment | 40% | 40% |
| Total (Base points) | 100% | 100% |
Note: Some extra points or deductions will be applied.
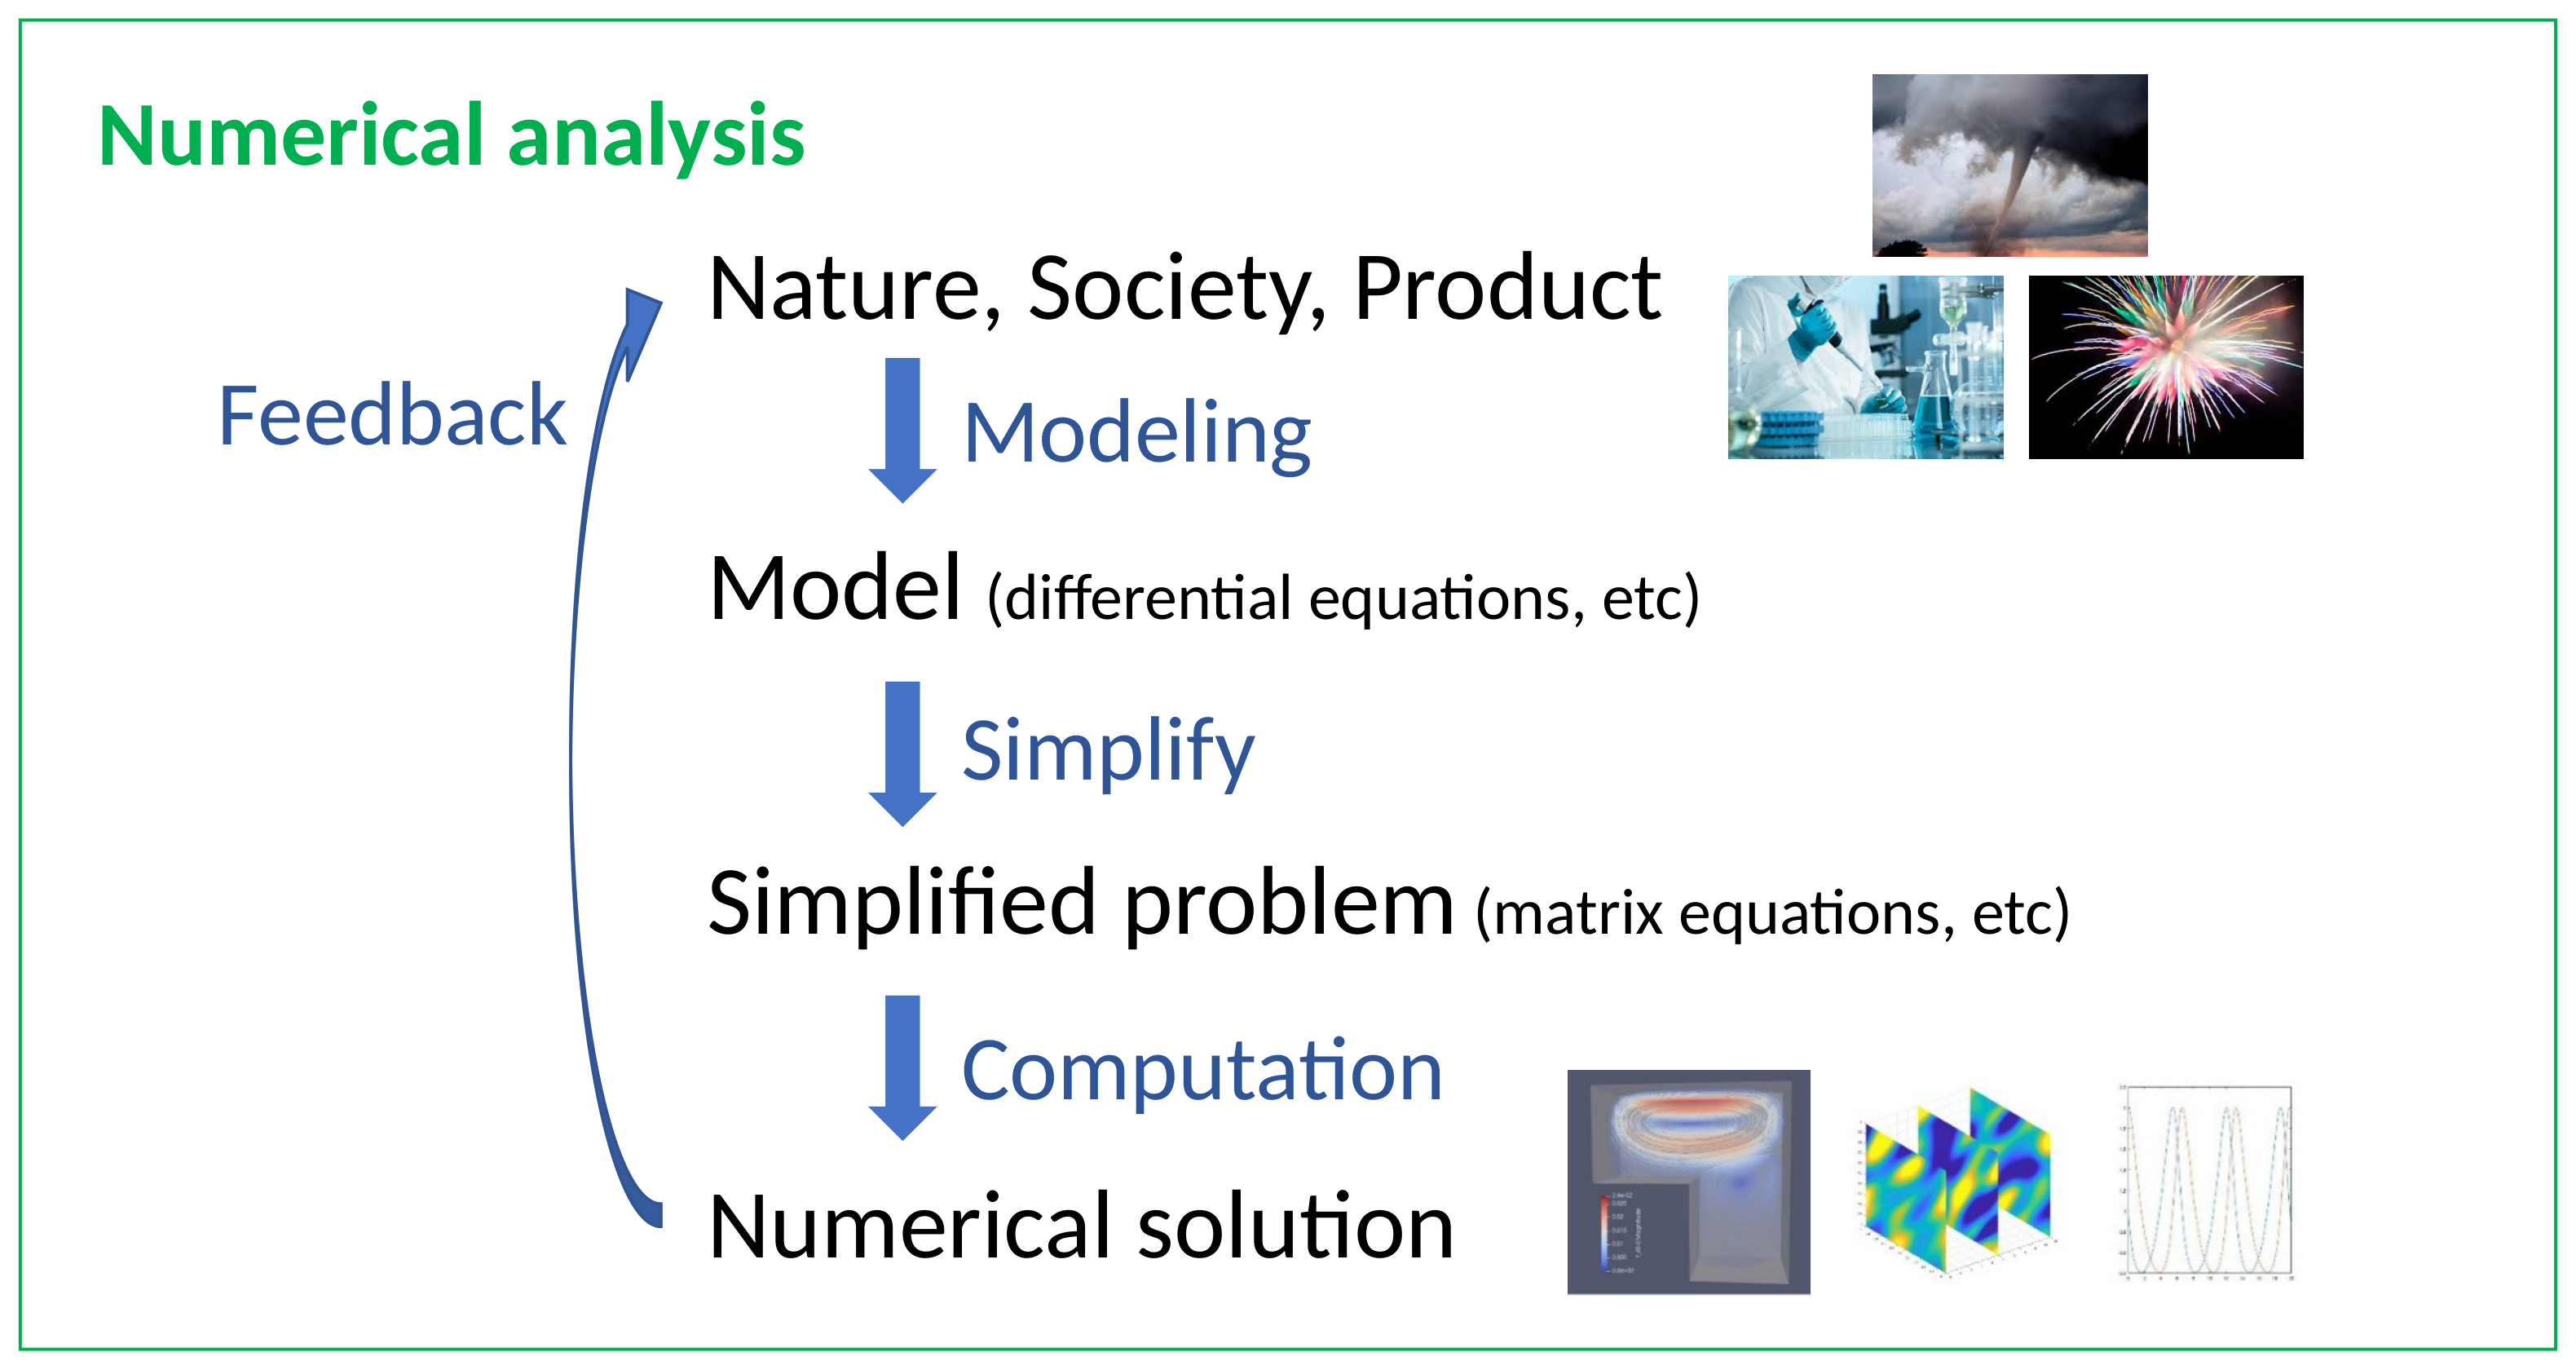
What is Numerical Analysis?
that cannot be solved analytically
Process of Numerical Analysis
Support & Tools
Audrey CHEN (M1)
AI Tools
Using AI: Key Cautions
AI is extremely powerful and useful, but keep these in mind.
Mission 1 — Mattermost
- Open Mattermost and sign in with your Waseda email address
Apps: mattermost.com/apps — Settings:
Server URL:https://class.s-top.dev/
Server Name: anything you like (e.g.Numerical Analysis 2026) - Find TANAKA, Kazuaki in the member list (use the search bar if needed)
- Send a direct message containing:
- Your Name
- First Name in HIRAGANA or KATAKANA (if possible)
- Student ID
- Any other comments (optional)
What is GitHub?
clone (download) → edit → commit (save) → push (upload)Mission 2 — GitHub Account
- Go to github.com and click Sign up
- Register with your email address and choose a professional username
- After sign-up, go to github.com/settings/copilot
- Enable GitHub Copilot Free (no payment is required)
Mission 3 — GitHub Student Developer Pack
- Go to education.github.com/pack
- Click Sign up for Student Developer Pack
- Verify your student status (Waseda email or student ID card)
- Once approved, Copilot Pro and many other premium tools become free!
(Approval may take a few days — proceed with the other missions in the meantime)
Mission 4 — VS Code + GitHub Copilot
- Download VS Code from code.visualstudio.com and install it
- Launch VS Code and open the Extensions panel (
Cmd+Shift+X/Ctrl+Shift+X) - Search for GitHub Copilot and install it
- Click Sign in to GitHub when prompted — authorize with your GitHub account
- Copilot is now ready — try typing some code and see suggestions appear!
Mission 5 — Clone the Course Materials
Repository: github.com/waseda-num-analysis-2026/materials
- Try asking GitHub Copilot to do it for you! (e.g., “How do I clone this repository in VS Code?”)
- Follow the AI’s instructions to clone the repository to a folder on your PC
- After it’s done, ask Copilot to explain what it did step by step — so you can do it yourself next time.
Exercise 1.1 — Hello GitHub
Assignment Link: Ex 1.1 — GitHub Classroom | Deadline: Apr 17, 23:59
- Access the assignment link above to accept the task
- Clone the repository to your local machine
- Edit
README.md(add your Student ID and Name) - Commit & push your changes
- Confirm your changes appear on GitHub
Exercise 1.2 — Summarize How to Use GitHub
Assignment Link: Ex 1.2 — GitHub Classroom | Deadline: Apr 23, 23:59
- Create your own reference document on how to use GitHub (clone, commit, push, pull, etc.)
- Ensure it meets the Requirements:
- AI-friendly file format — OK:
tex&pdf,md,qmd,html/ NG:docx,xlsx,pptx - The best explanation for yourself — maximally clear and useful for you
- AI-friendly file format — OK:
- Submit via GitHub Classroom (commit & push to your assignment repository)
⚠️ Always cross-check with multiple AIs and verify with primary sources.
Exercise 1.2 — Suggested Workflow
Step 1. Ask a browser-based AI to draft a summary
Prompt example:
“Explain how to use Git and GitHub step by step: clone, commit, push, pull. Write it as a beginner-friendly guide.”
Step 2. Save the output as a local file (e.g. draft.txt or draft.md)
Step 3. Open it in VS Code and ask GitHub Copilot to enhance it with diagrams
Prompt examples:
- “Create an SVG diagram showing the Git workflow: working directory → staging area → local repo → remote repo.”
- “Embed this SVG into a Markdown file and reorganize my draft into a well-structured
github-beginners-guide.mdwith sections and the diagram.”
(An example I ran is in ex1.2-sample/ in this repository.)